Creatify Team
SHARE


IN THIS ARTICLE
Welcome to our latest blog, where we walk you through creating short video ads with AI tools. In this easy-to-follow tutorial, we'll take you from using a product URL to fine-tuning and rendering your final video ad. Designed for simplicity and efficiency, this guide is perfect for marketers at any level of experience.
Feel free to explore our short video tutorial if you prefer this format.
Follow this 6 simple step-by-step guide to create a custom video that perfectly suits your product. 👇🏻
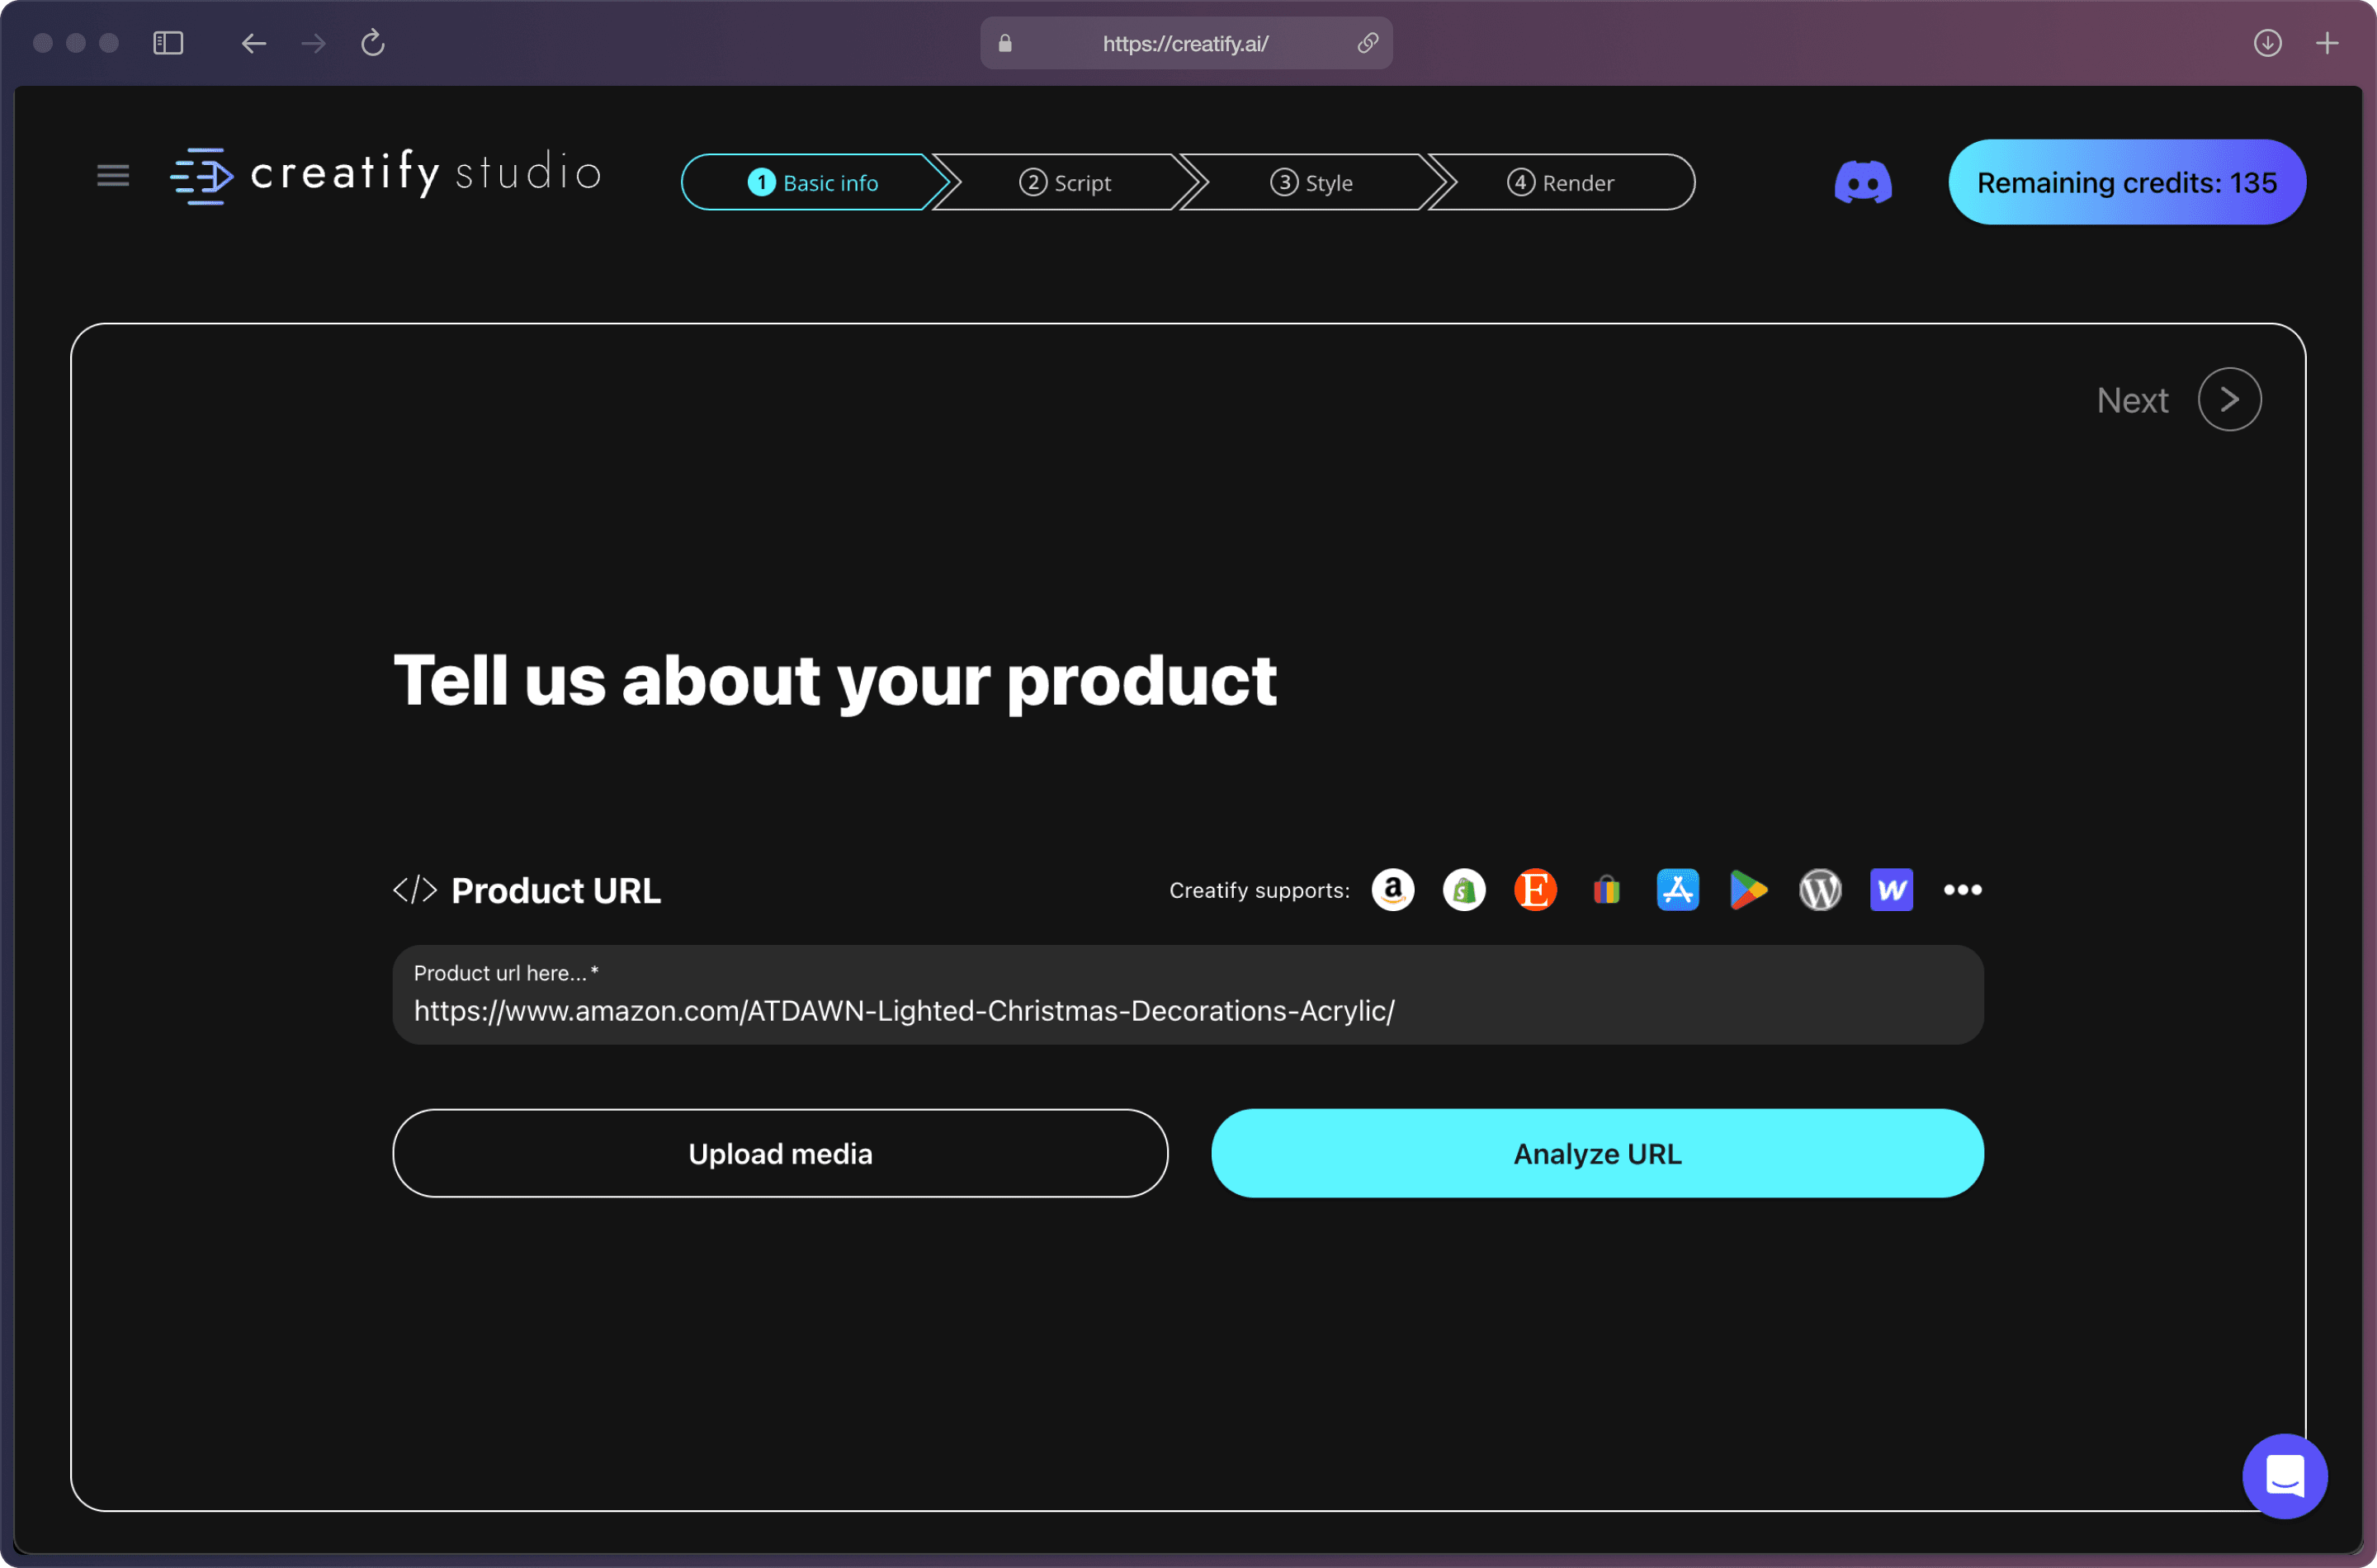
Step 1: 🔗 Enter the product’s URL.
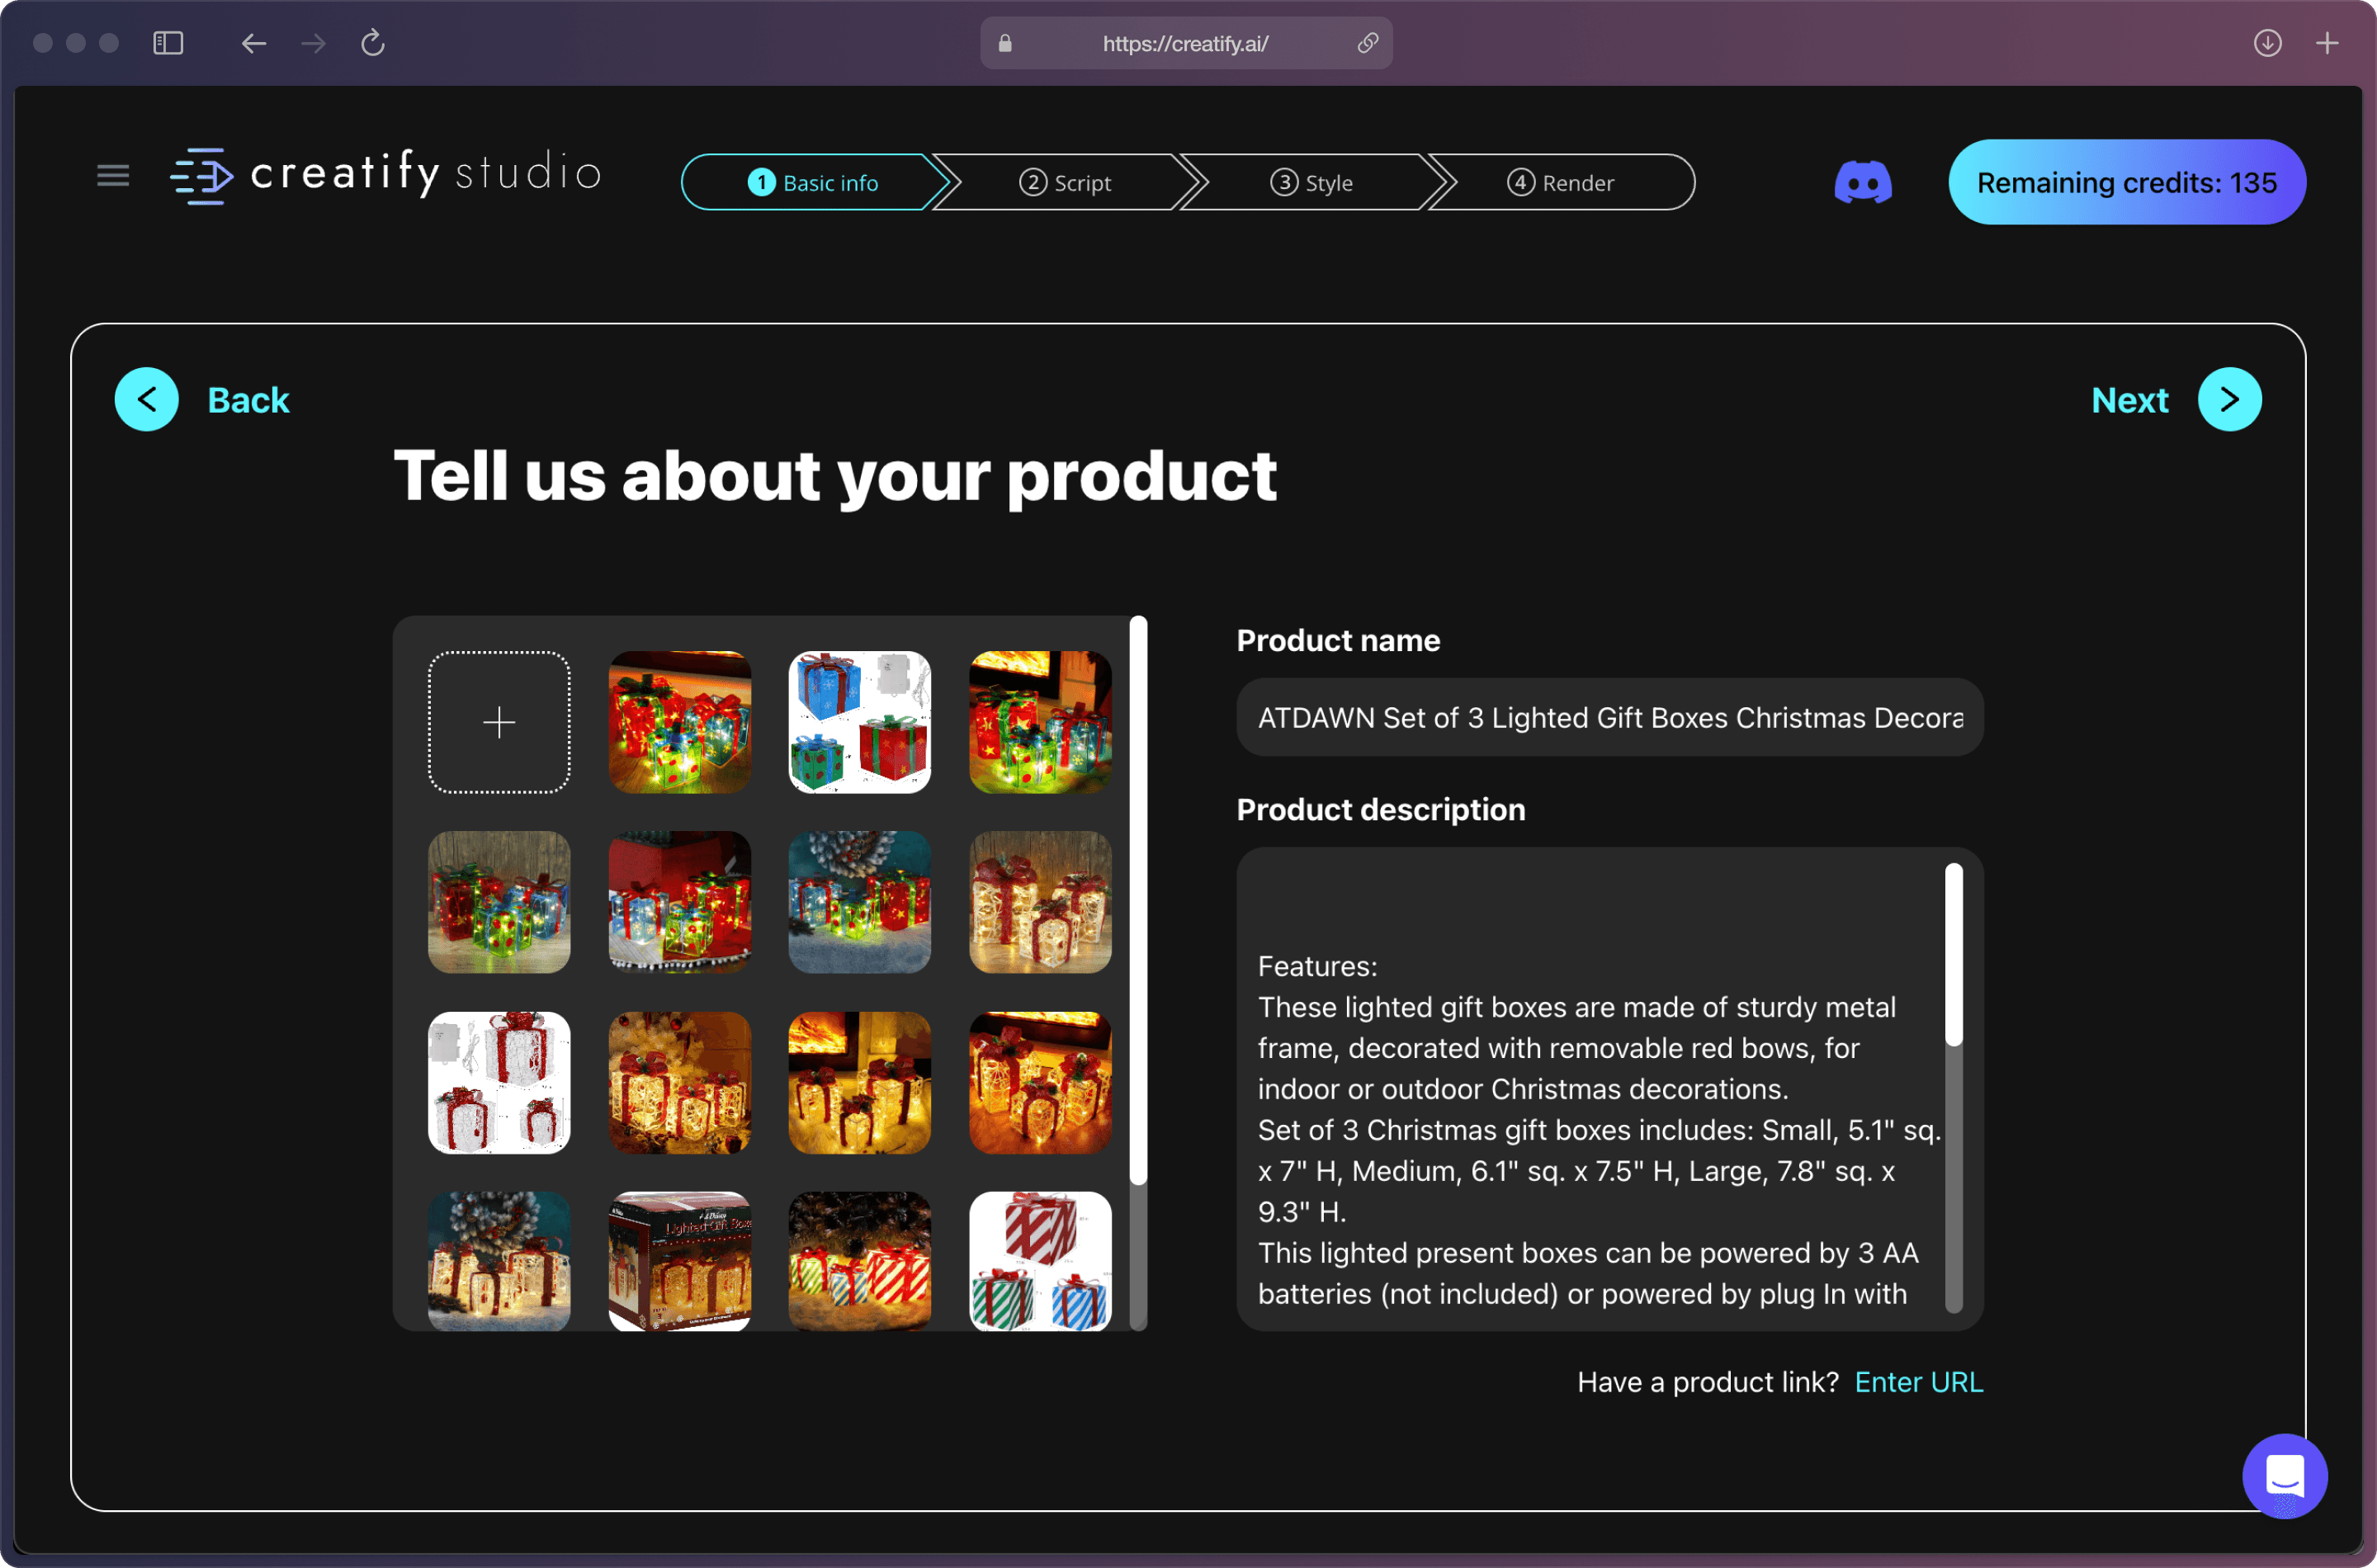
Step 2: AI just gathered all of the product data on this screen. Check the name of your product and pre-written description to make sure it's spot-on. Fix, or add anything that is missing.
You can manually upload additional visual assets, like videos and images, although this is completely optional.
Step 3: Select video aspect ratio, duration, and language. Currently Creatify supports 12 languages.

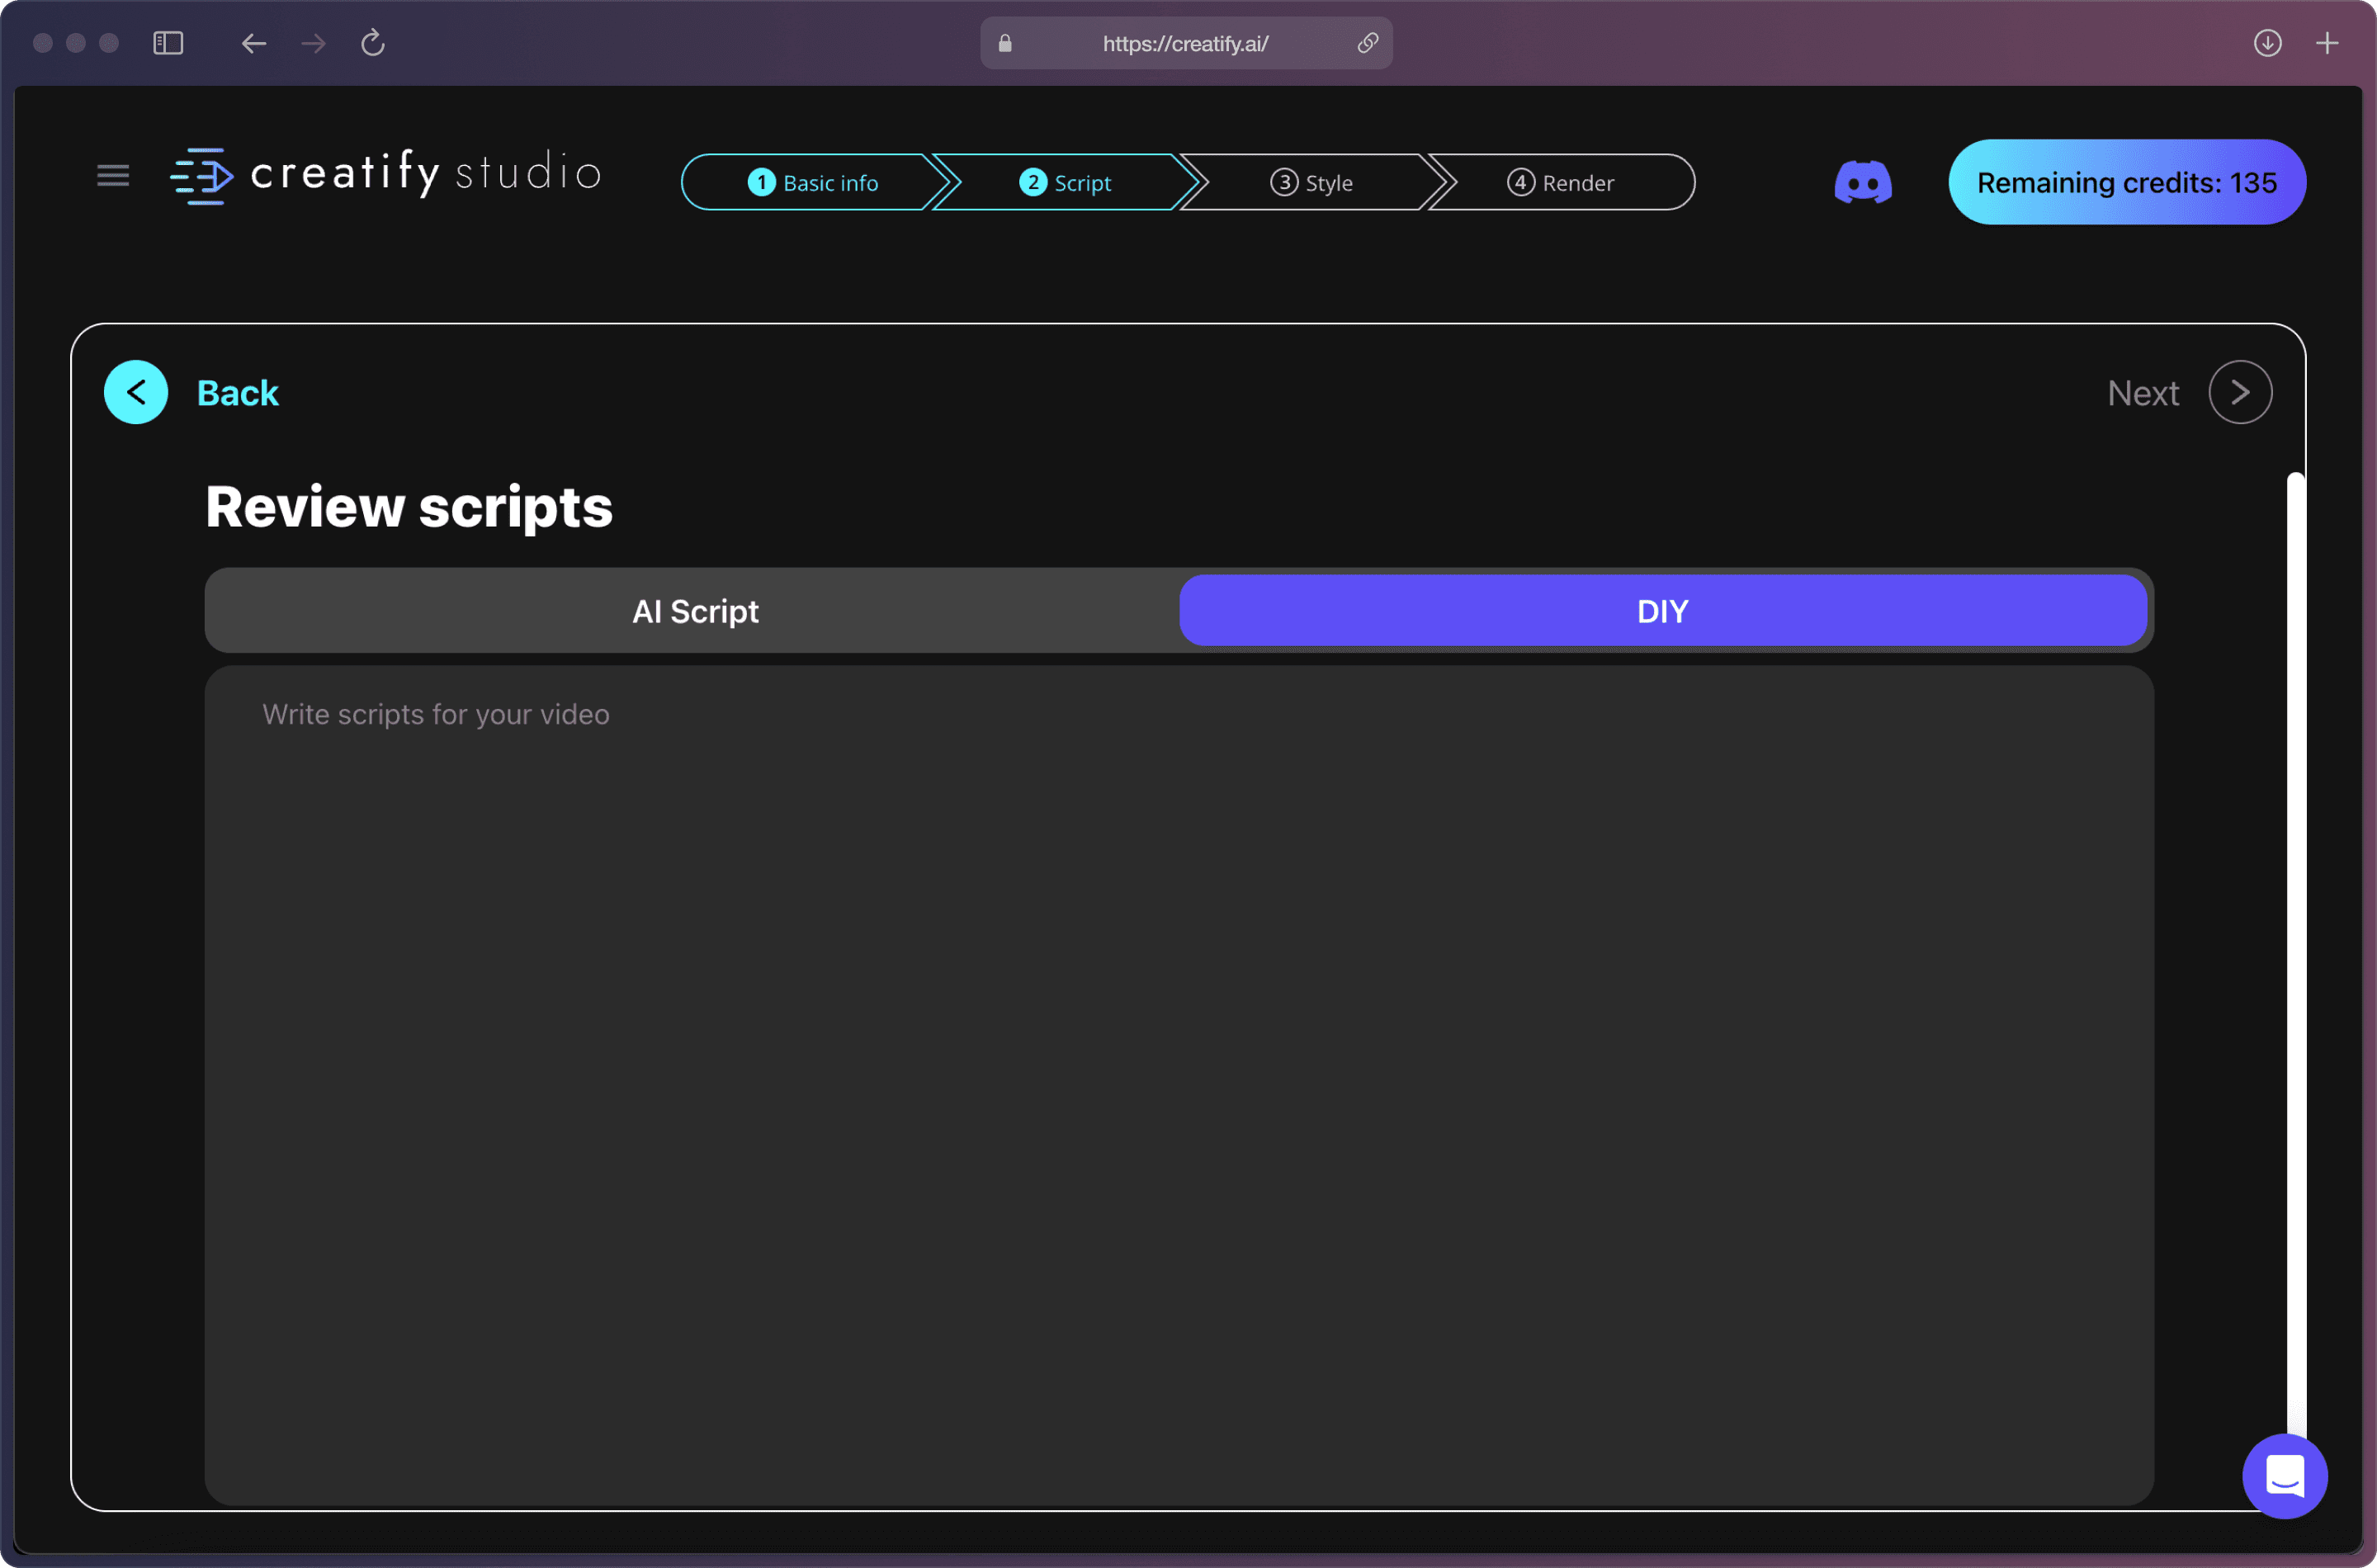
Step 4: Choose a script that best fits your product, customize the text if needed. Additionally, you can ask AI to generate more scripts, until you find the perfect match.
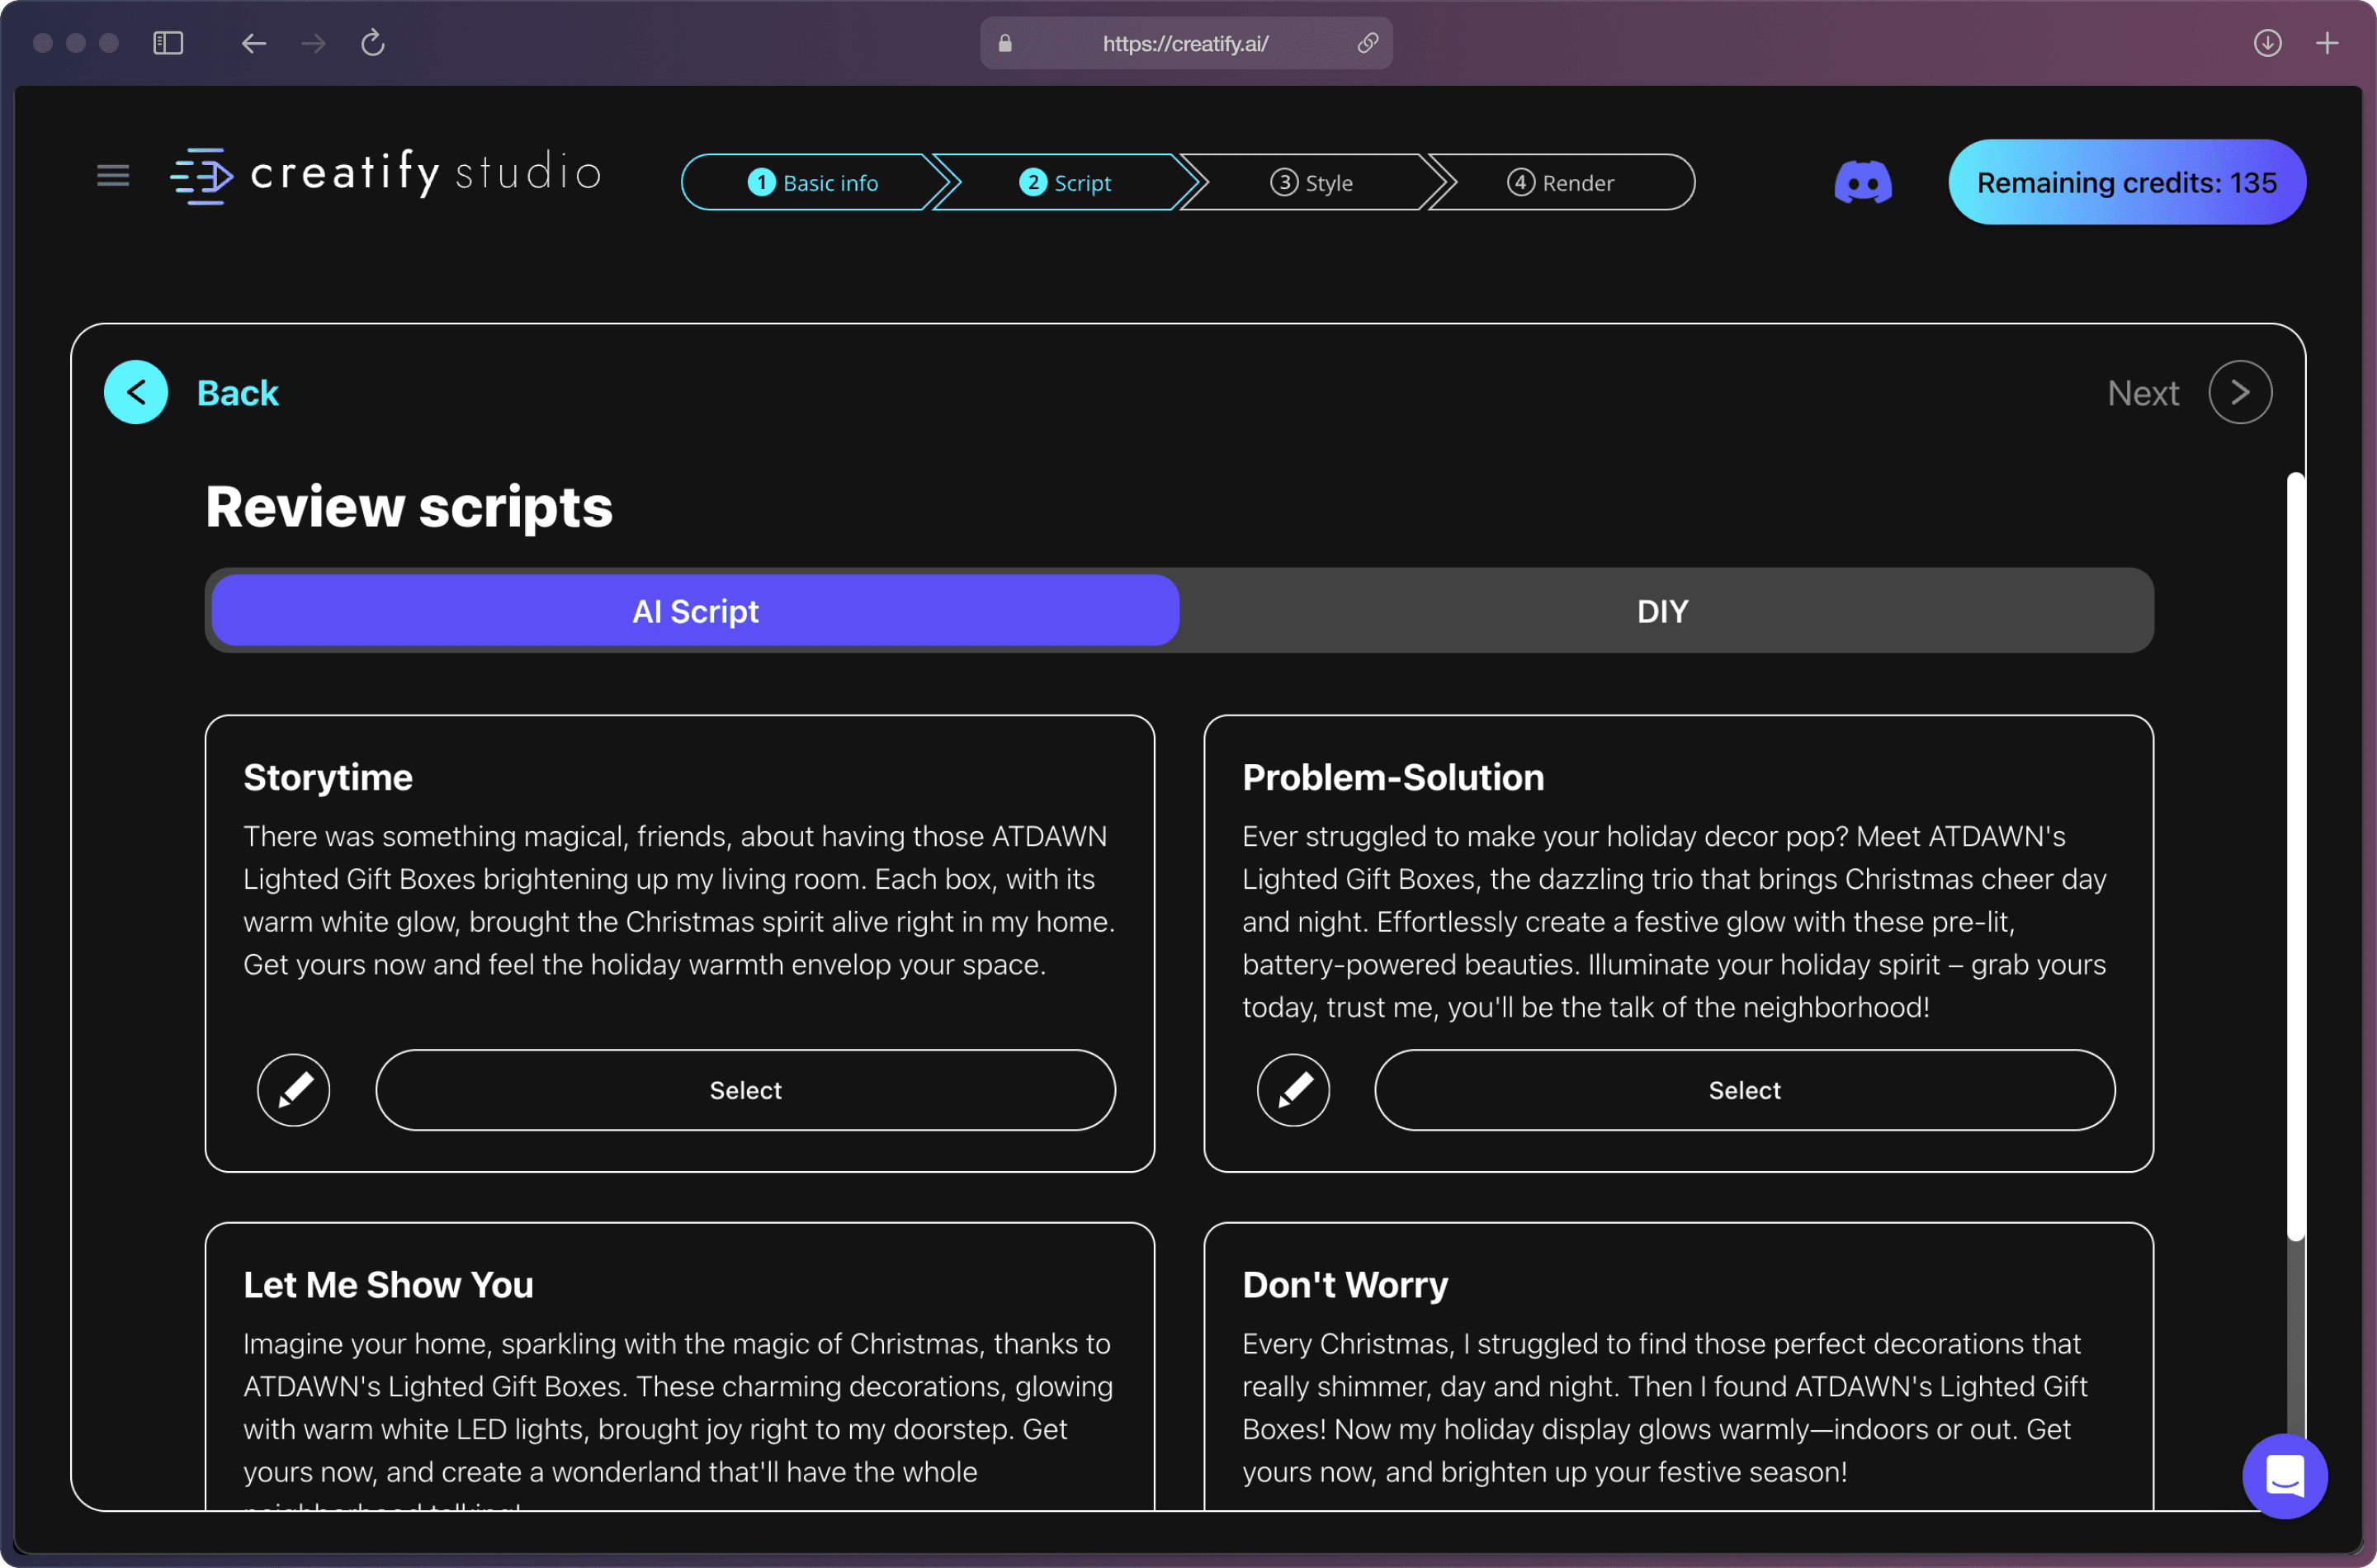
Or use “DIY” feature to insert your own script, which is also an option. ✍🏻
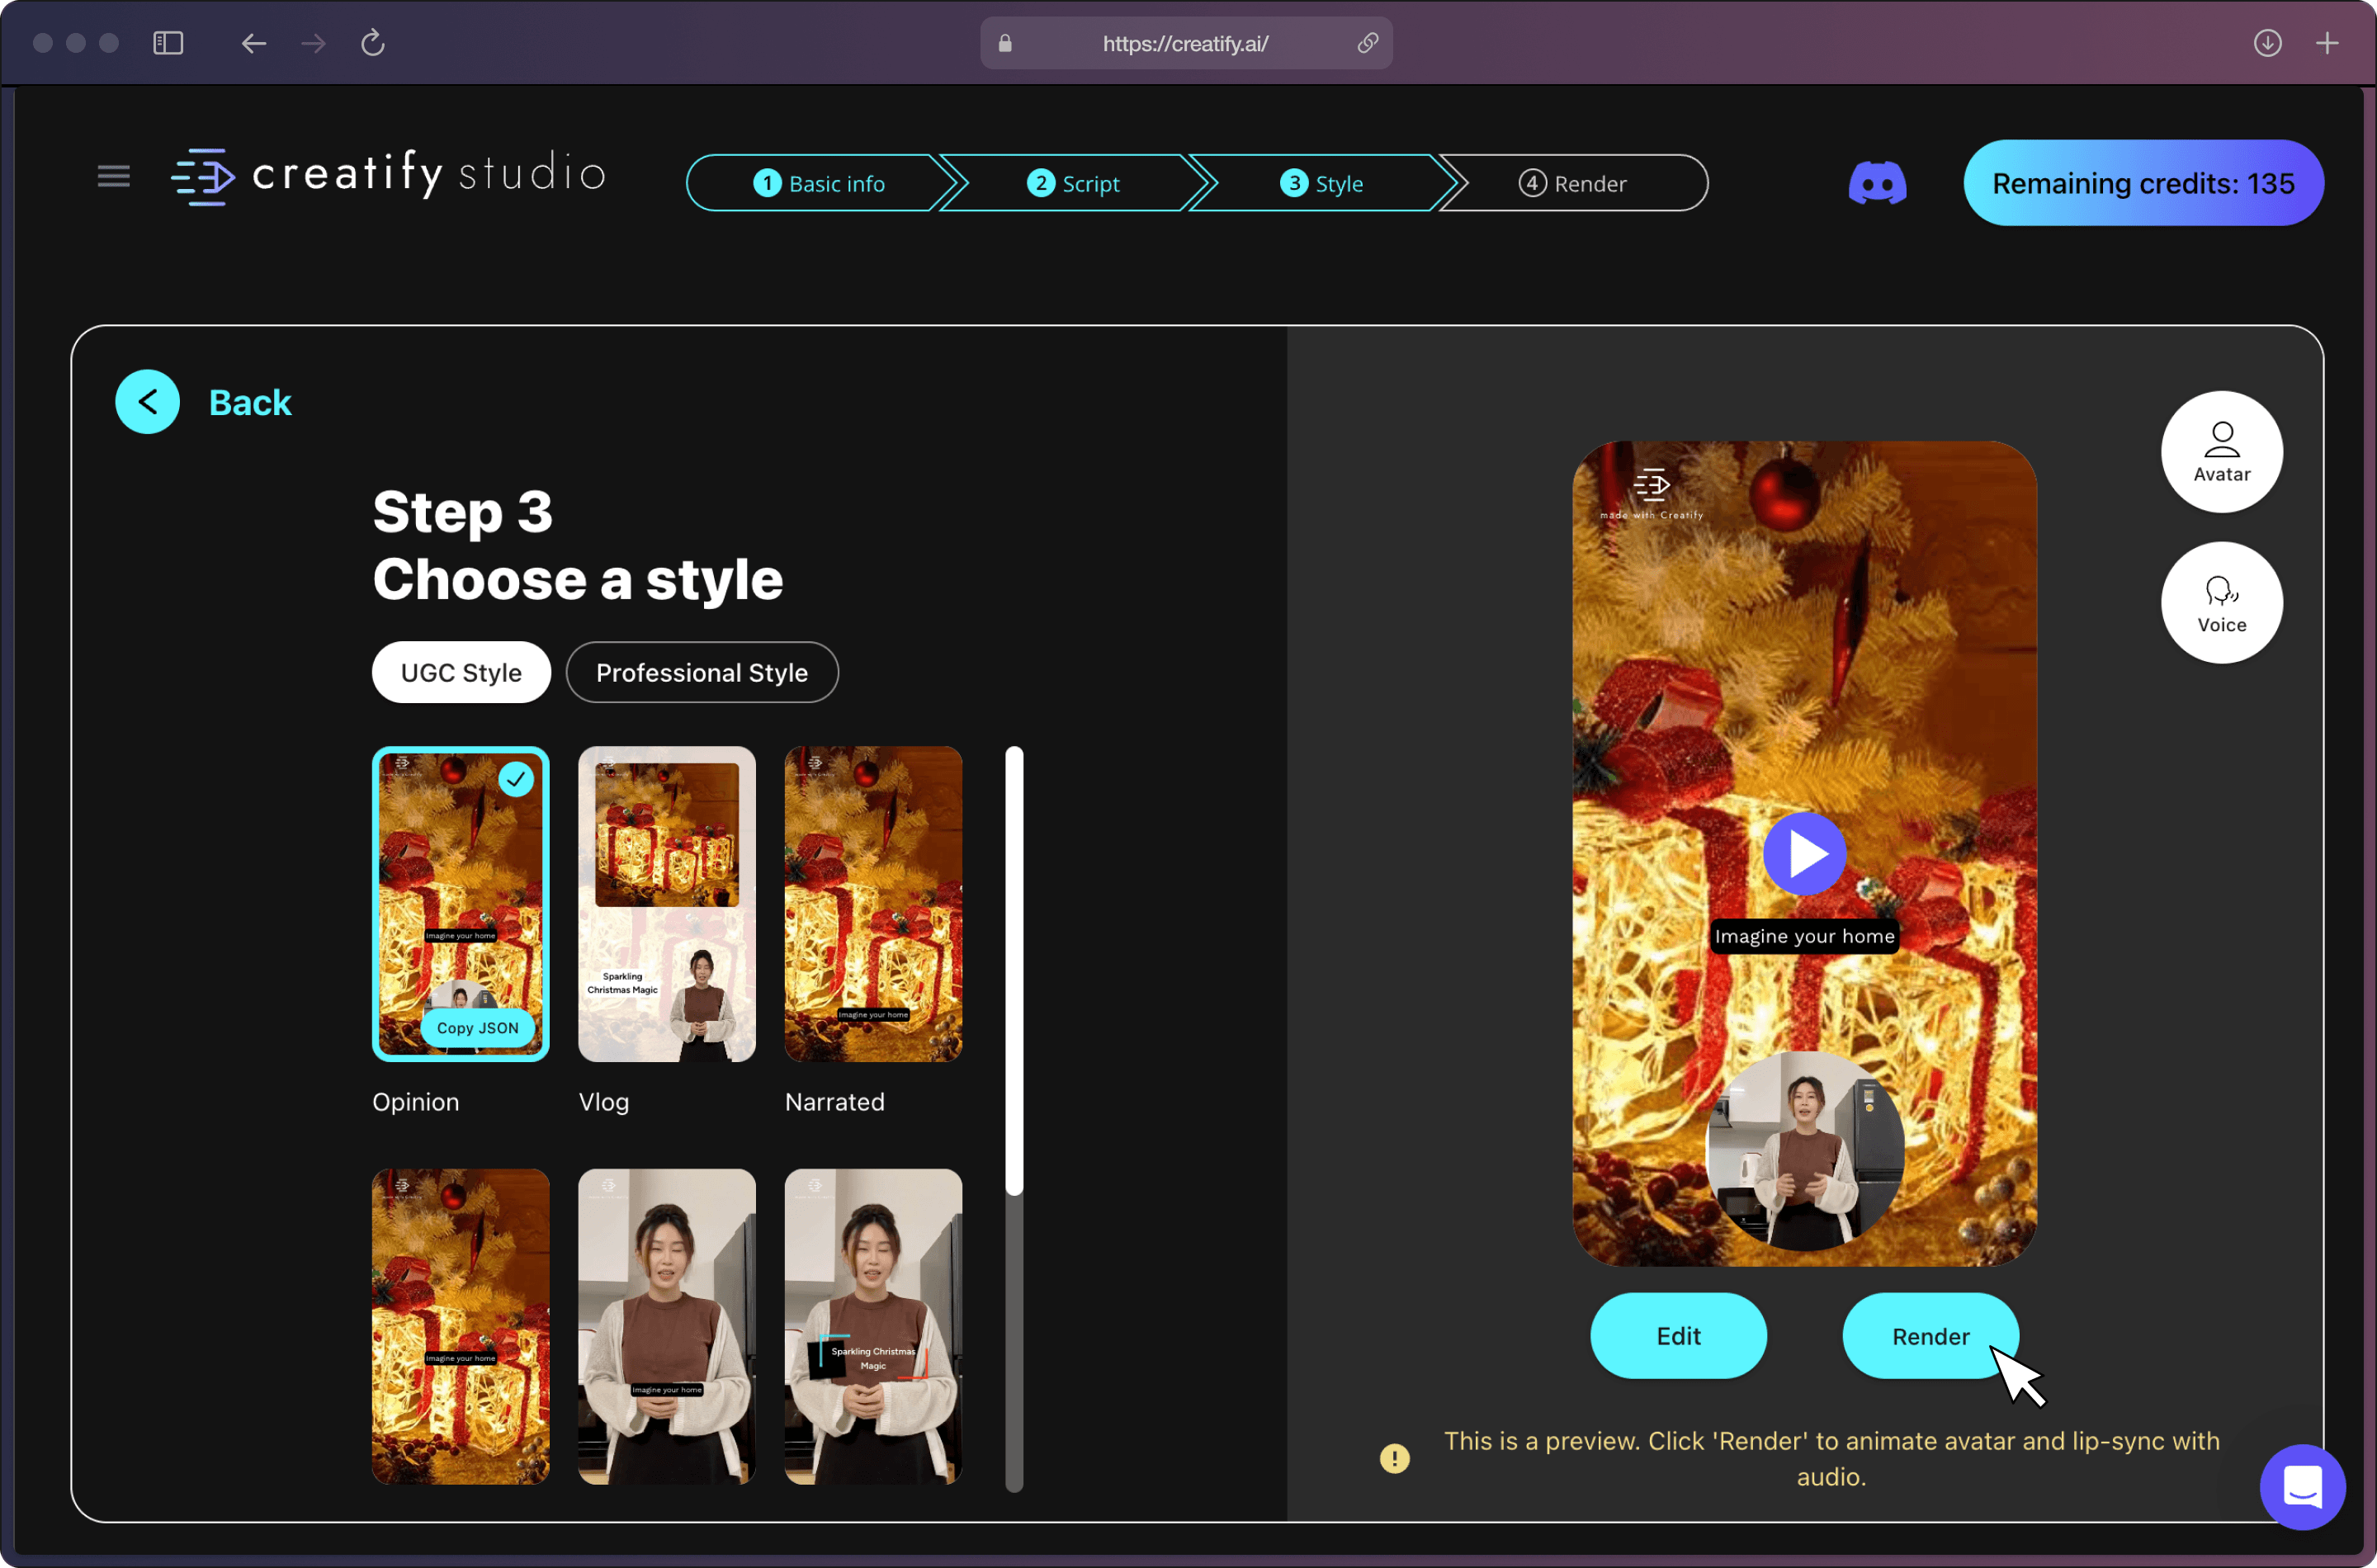
Step 5: Select a style, avatar, and voice that aligns with your brand. 🌟

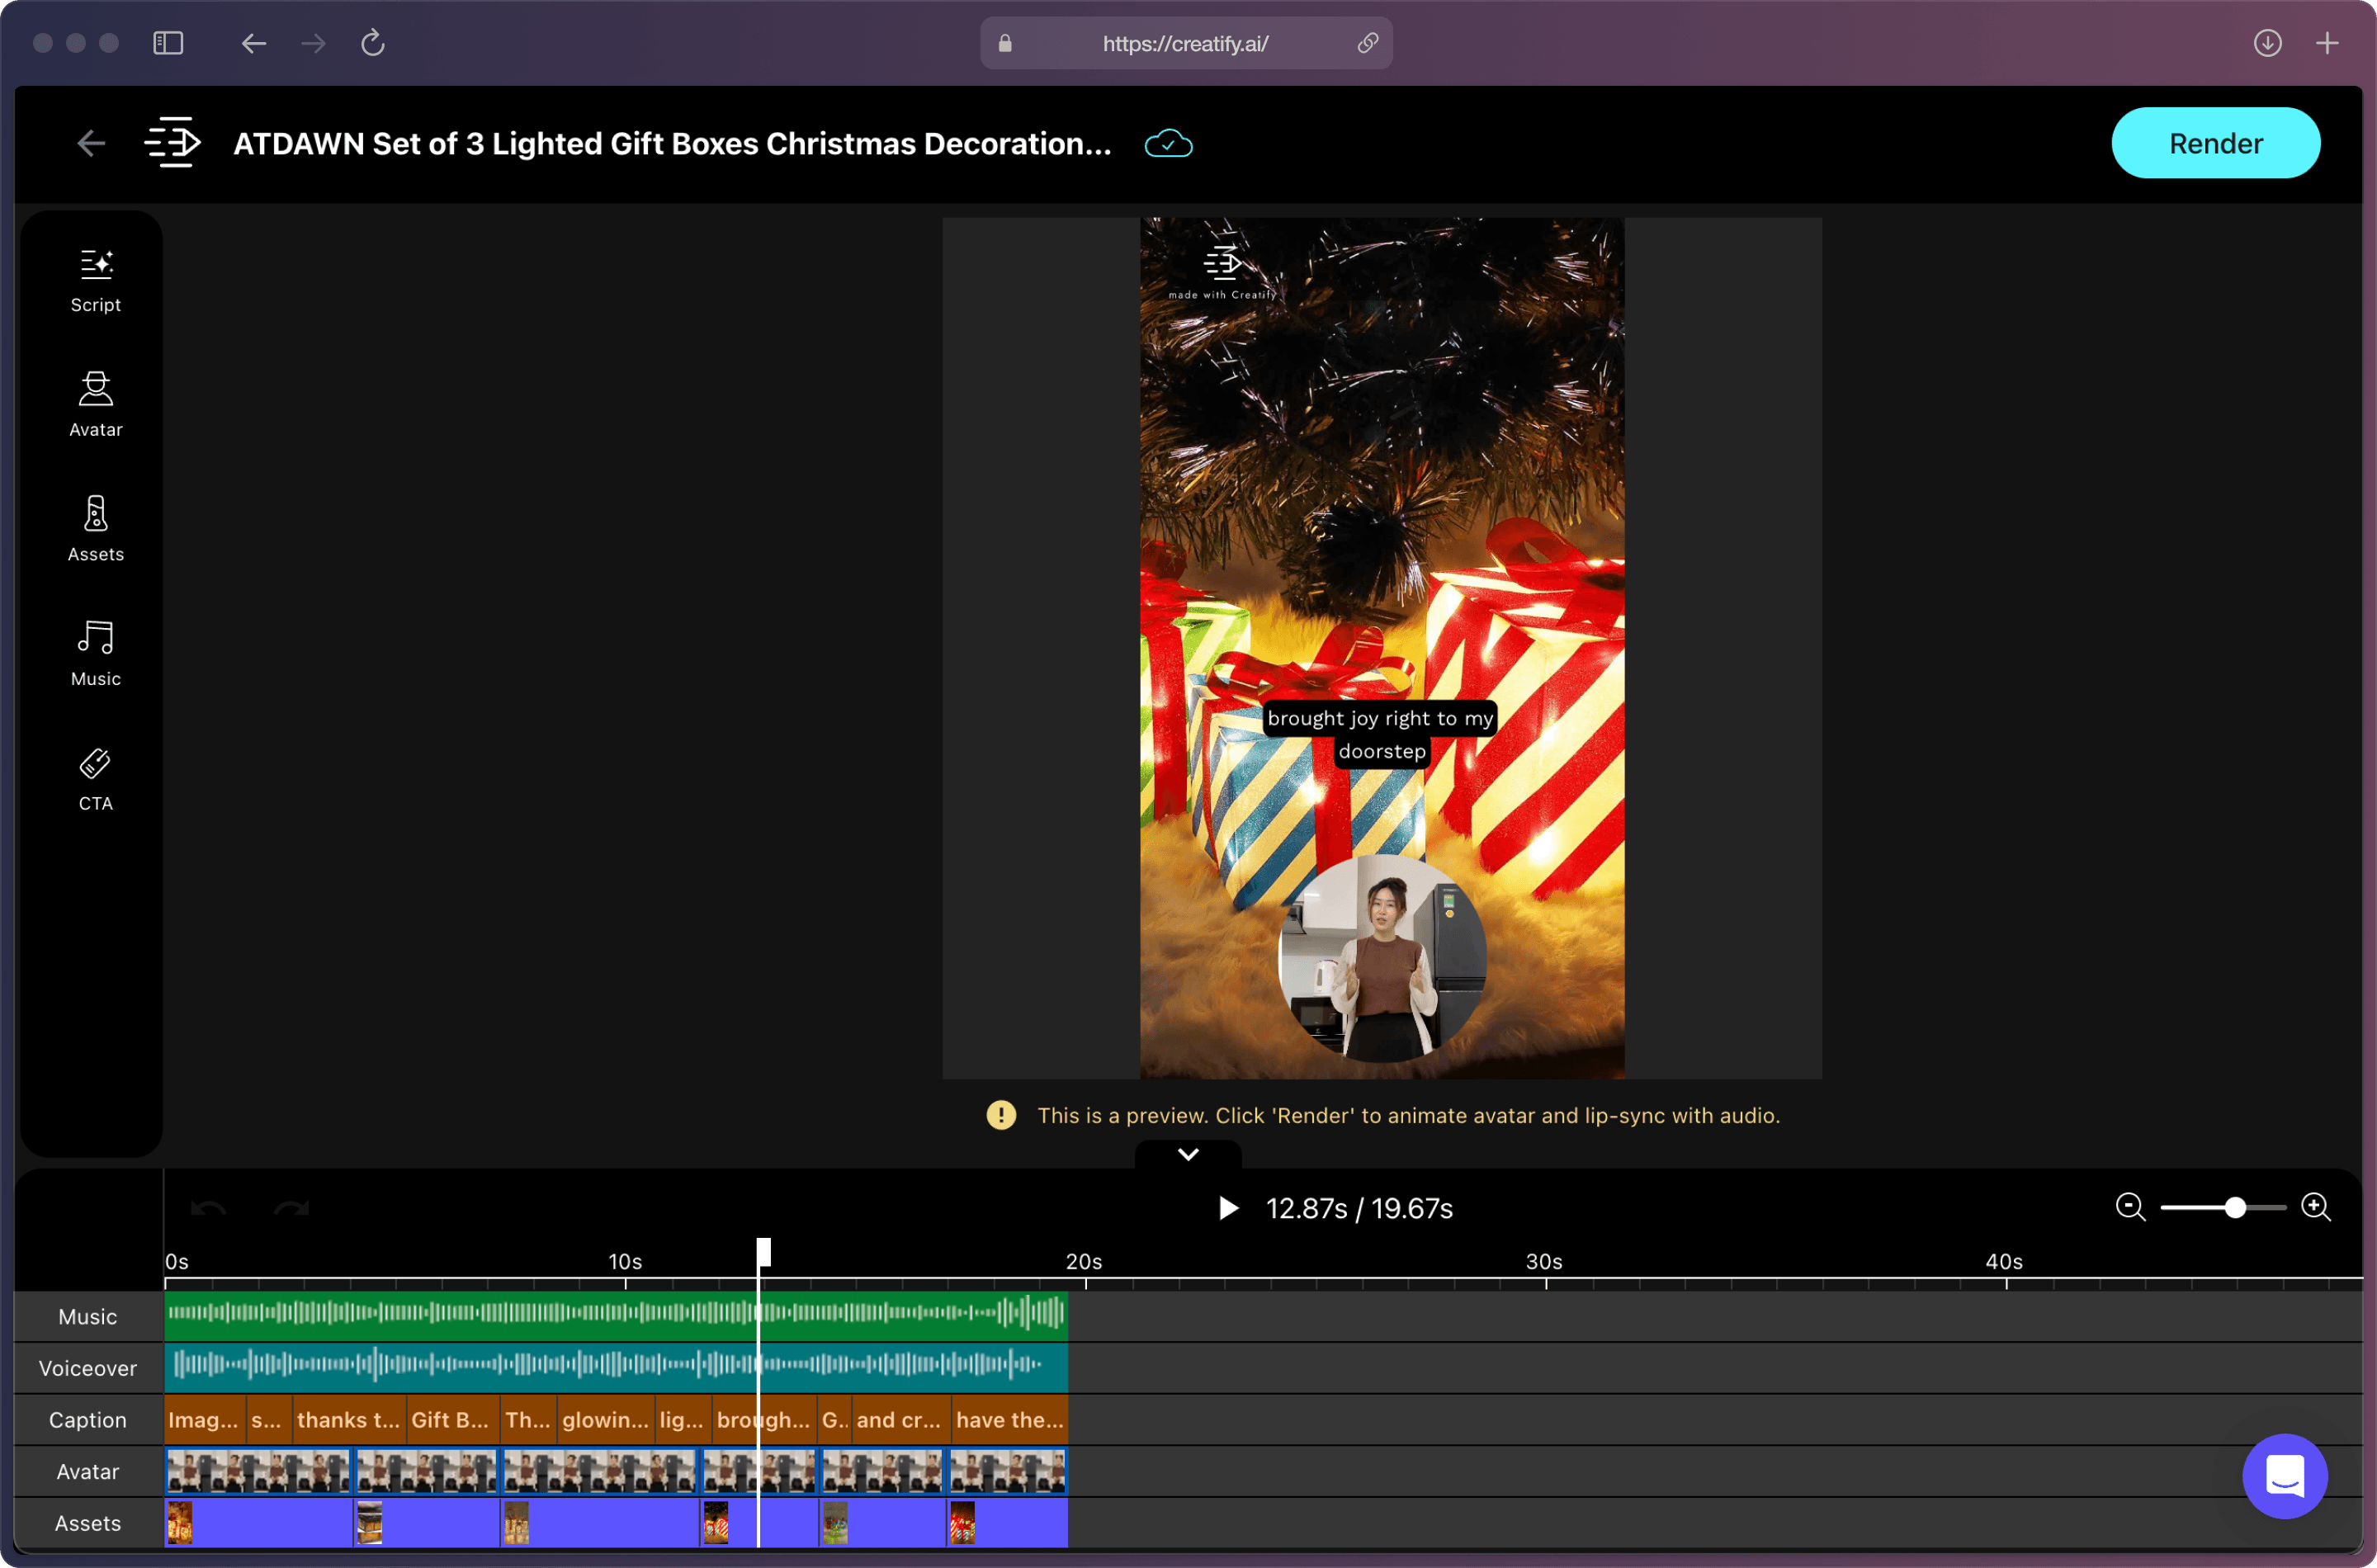
If you want to make some fine-tuning - feel free to use the “Editor” feature but it’s completely optional.
Step 6: When you’re happy with the ad preview, simply press “Render” and voila! 🎉
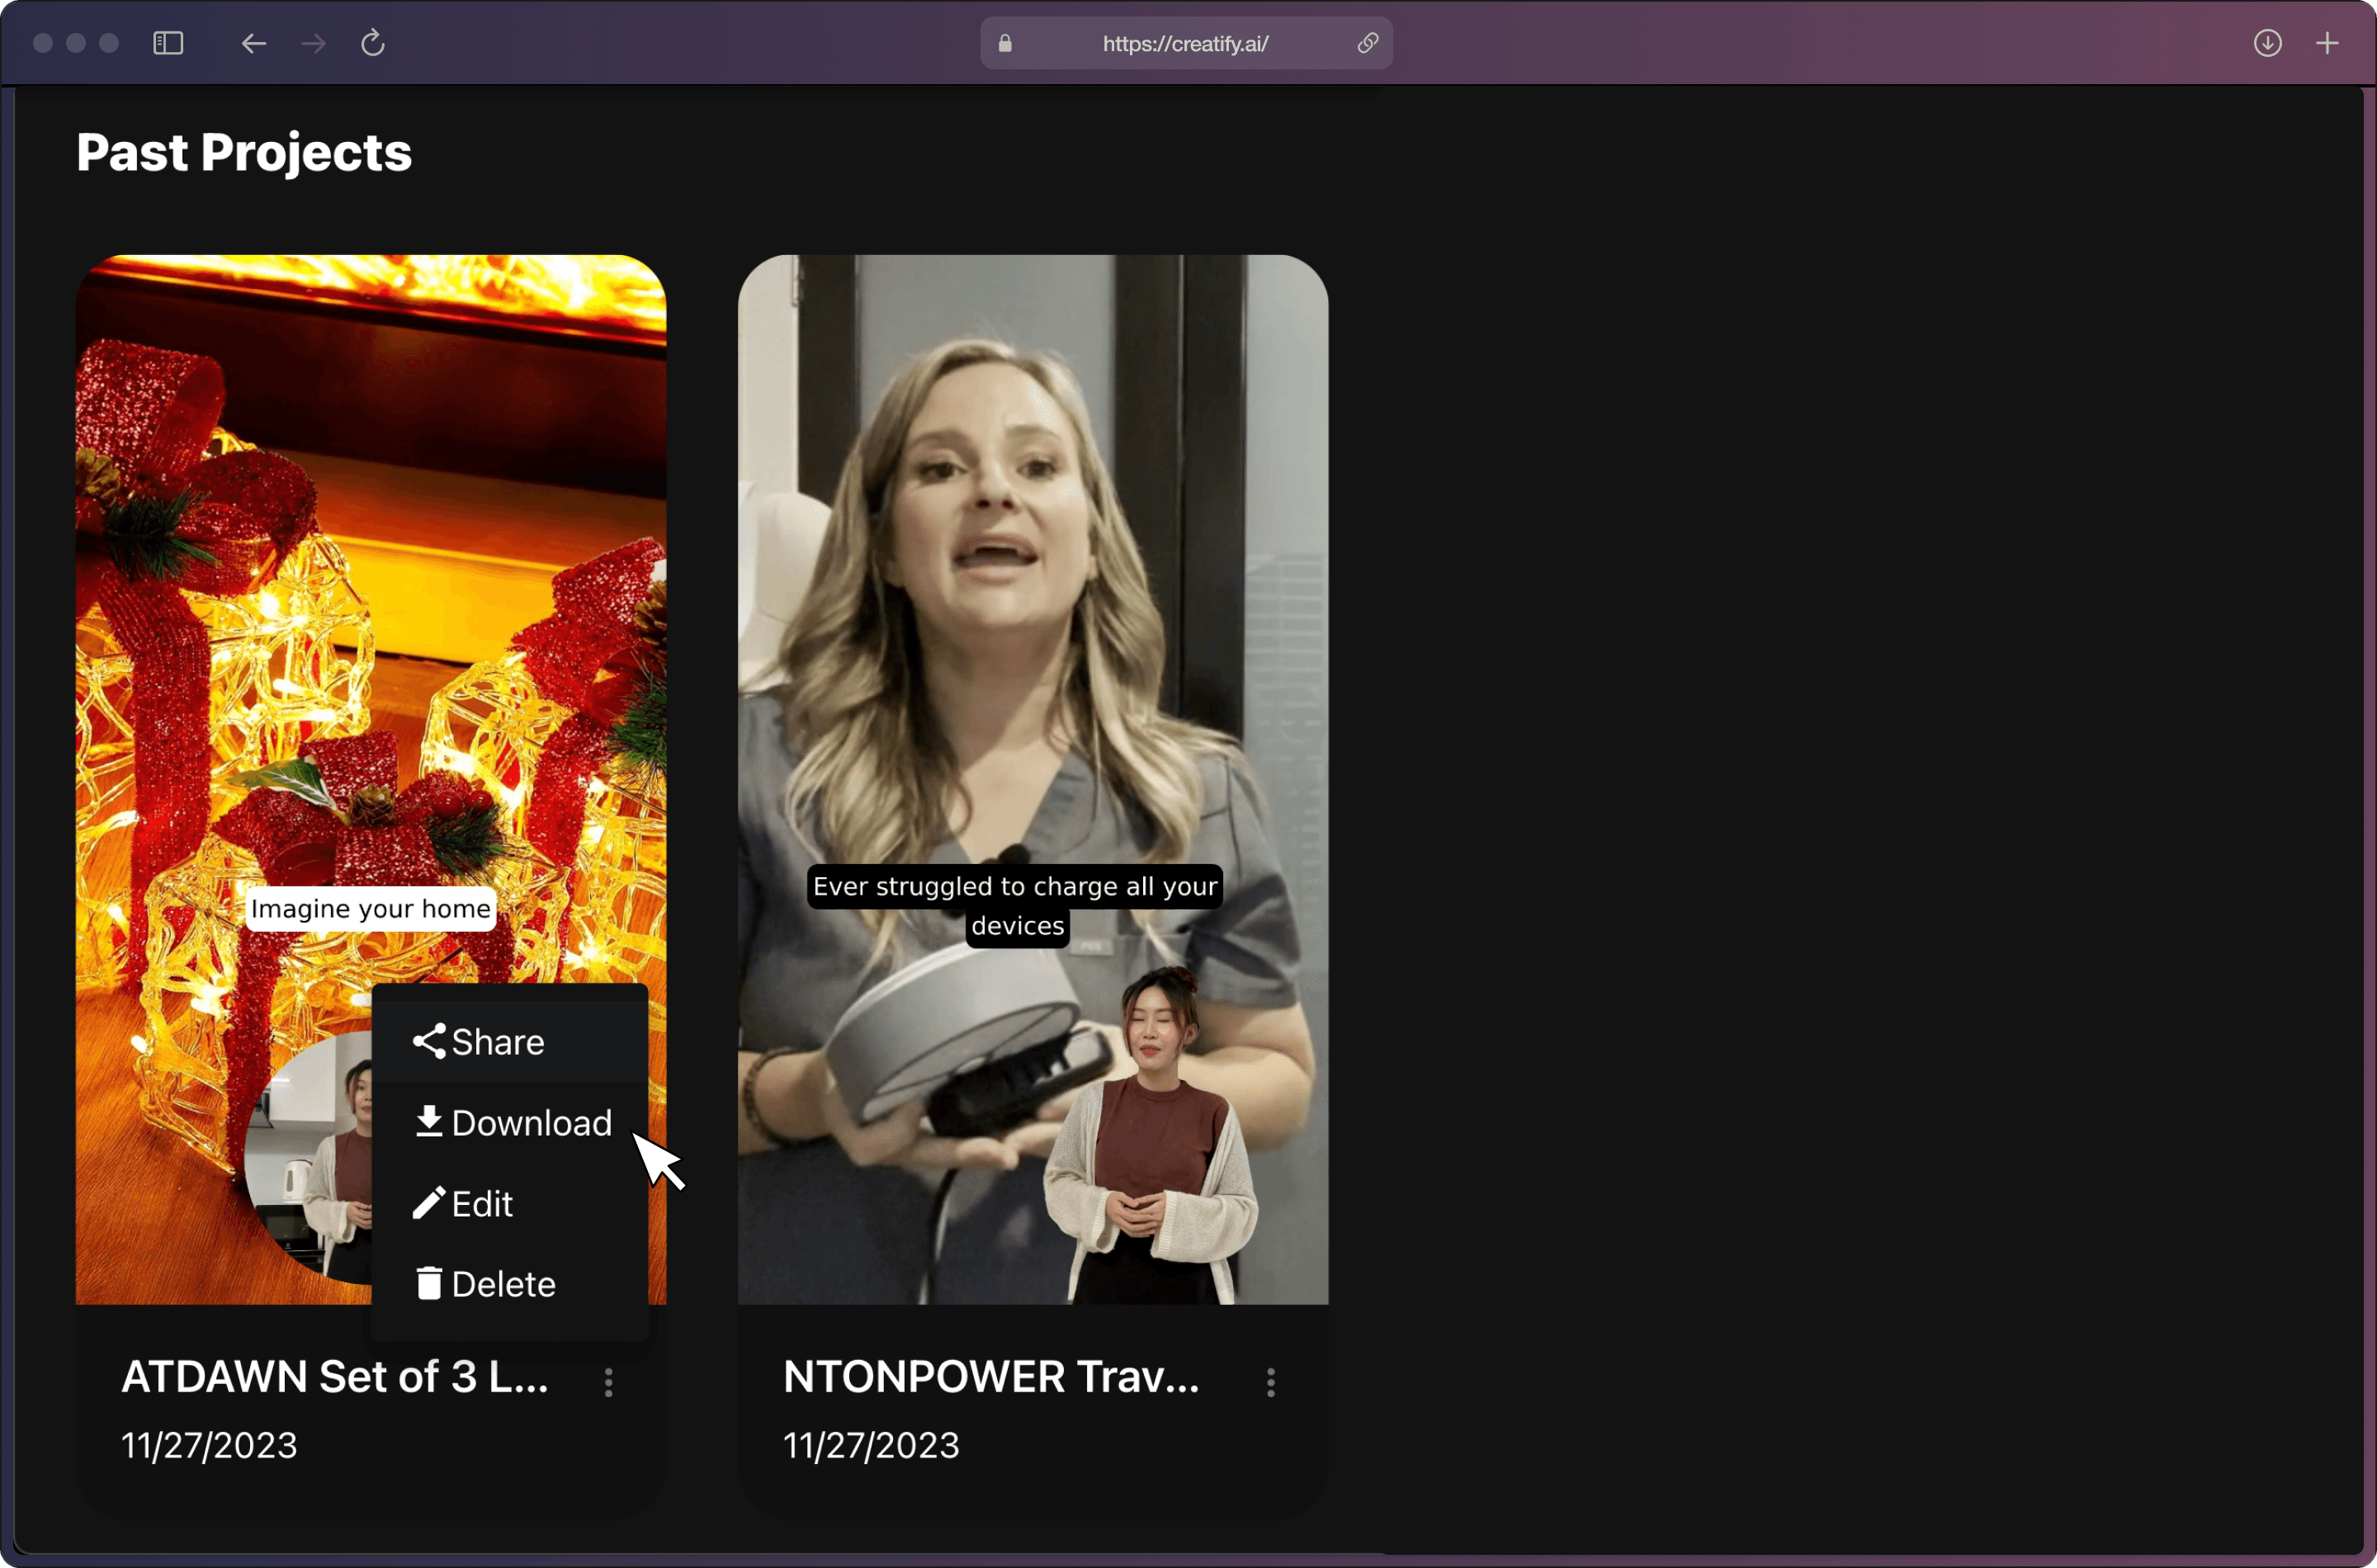
Download the ad and seamlessly integrate it into your marketing campaigns. Craving variety? Easily edit and re-render more variants for effective testing.
Ready to make your first AIGC ad? Start now for free.
Welcome to our latest blog, where we walk you through creating short video ads with AI tools. In this easy-to-follow tutorial, we'll take you from using a product URL to fine-tuning and rendering your final video ad. Designed for simplicity and efficiency, this guide is perfect for marketers at any level of experience.
Feel free to explore our short video tutorial if you prefer this format.
Follow this 6 simple step-by-step guide to create a custom video that perfectly suits your product. 👇🏻
Step 1: 🔗 Enter the product’s URL.
Step 2: AI just gathered all of the product data on this screen. Check the name of your product and pre-written description to make sure it's spot-on. Fix, or add anything that is missing.
You can manually upload additional visual assets, like videos and images, although this is completely optional.
Step 3: Select video aspect ratio, duration, and language. Currently Creatify supports 12 languages.
Step 4: Choose a script that best fits your product, customize the text if needed. Additionally, you can ask AI to generate more scripts, until you find the perfect match.
Or use “DIY” feature to insert your own script, which is also an option. ✍🏻
Step 5: Select a style, avatar, and voice that aligns with your brand. 🌟
If you want to make some fine-tuning - feel free to use the “Editor” feature but it’s completely optional.
Step 6: When you’re happy with the ad preview, simply press “Render” and voila! 🎉
Download the ad and seamlessly integrate it into your marketing campaigns. Craving variety? Easily edit and re-render more variants for effective testing.
Ready to make your first AIGC ad? Start now for free.